Spaying or Neutering Your Puppy!

Aside from Valentine’s Day on the 14th, February also brings another important day at the end of the month: World Spay and Neuter Day! Learn why you should spay or neuter your puppy, along with all the life-long health benefits!

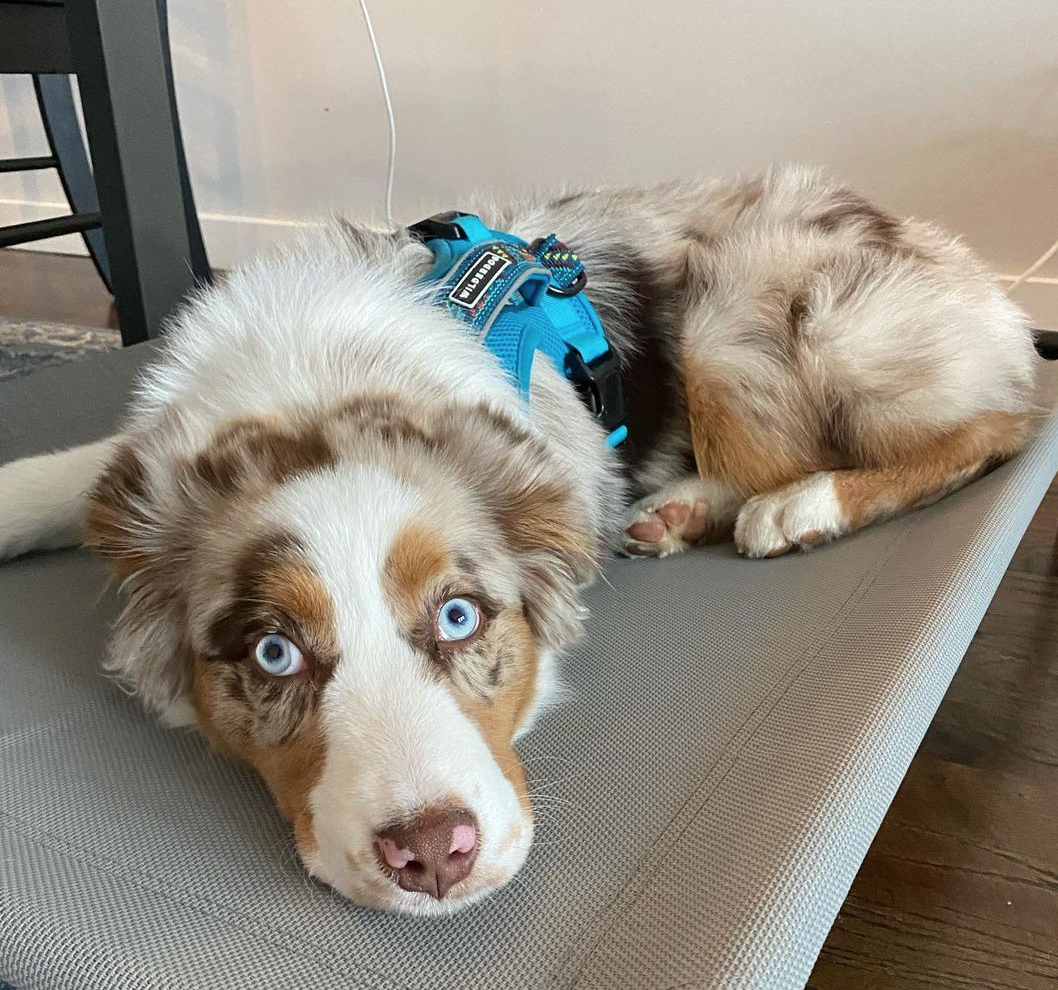
The Puppy Academy student: Toby

The Puppy Academy student: Toby

It seems like there’s a holiday for everything each month, and February is no exception! It’s Responsible Pet Owners Month, and along with it, the fourth Tuesday in February is dedicated to World Spay and Neuter Day! We want to help spread awareness of why these procedures are crucial and beneficial for our pups and provide puppy owners with another resource when making this vital decision.

WANT MORE PUPPY TRAINING AND PUPPY CARE TIPS STRAIGHT TO YOUR INBOX? SIGN UP FOR OUR ANNOUNCEMENTS!

What are Spaying and Neutering

When you bring home a new puppy, your veterinarian may have advised you on a vaccination schedule as well as the spay or neuter procedure for your puppy. If this is your first puppy, spaying involves removing the female reproductive organs (uterus and ovaries), where neutering includes removing male reproductive organs (testicles). For puppies adopted from a rescue organization or shelter, the adoption fees include the cost of a spay or neuter procedure and performed before you adopt your puppy. 

When to Spay or Neuter Your Puppy

@mr_ted_cockapoo

@mr_ted_cockapoo

One of the biggest questions new puppy owners ask is when to spay or neuter their puppy! No surprise there! In recent years, more and more puppy owners have shifted from spaying or neutering their puppy earlier (six months is a general age), to hold off until their puppy is approximately a year old or even older.

The “right” age isn’t a hard and fast rule for all breeds. For some dog breeds, delaying the spay or neuter procedure is beneficial for their development and future health benefits. Talk with your veterinarian about your puppy’s specific breed needs, age, size, and genetics to determine what’s the best plan!

LEARN OUR PUPPY TRAINING SCHEDULE, POTTY TRAINING SCHEDULE, CRATE TRAINING, AND MORE! SIGN UP FOR OUR ANNOUNCEMENTS!

Why Spay or Neuter Your Puppy

Spaying and neutering afford many benefits. For one, it can help diminish over-population and alleviate crowded shelters. Puppies and dogs that are currently in shelters have a much greater chance at adoption with fewer new rescues coming in. While controlling unexpected litters is one of them (a female dog can become pregnant as young as six months of age and have up to two litters a year), also health and behavioral benefits!

A spayed or neutered puppy is less prone to develop certain cancers as they age. Additionally, it can, but not always, help reduce other unwanted behaviors such as excessive territory marking, mounting, and certain dominant behaviors. But don’t rely on this to “solve” any of these issues if you’re experiencing them with your pup! These behaviors most often than not need to be curbed through professional puppy training.

Some common concerns include weight gain or lethargy, but there is no direct correlation between undergoing either procedure resulting in either. Your puppy is in the middle of a rapid development stage, so consider consulting your veterinarian about changing their nutrition or exercise regimen.

@chillispicyone

@chillispicyone

Recovery from the Spay or Neuter Procedure

With any surgery, it’s important to plan ahead and know what to expect! For a typical neuter procedure, males usually need one week to recover. Since spaying is a more invasive procedure, females can expect a two-week recovery time. Now, there are some new laser procedures certain veterinarians are doing that can cut down the risk of infection and shorten recovery time. However, speak to your veterinarian about your options, what they recommend, and the risks and benefits of your options.

After your puppy’s surgery, it’s essential to keep them as calm as possible while they heal! Within a couple of days, it can seem they start to gain back their energy and want to run and jump around, but this is when the risk of complications can be the highest! Stitches can be pulled, infections can form, and internal tearing could result from too much movement,  licking, and nibbling at the incision.

To help keep your pup calm, comfortable, and as safe as possible during their recovery, create a cozy area for them to relax with limited movement. We recommend using a playpen or their crate, and use a cone when you can’t monitor your puppy to ensure they can’t get to their stitches. If your puppy isn’t a fan of the plastic cone from the vet, there are some great alternatives you can use like an inflatable donut collar or the comfy cone that has padding and uses softer material (both available on Amazon.com!). If you’ve been practicing the “Place” command with your puppy, this will come in handy so they can relax on their dog bed or pet cot for longer durations! 

Pro tip: Depending on the size of their crate, your puppy may not be able to comfortably relax in there with the cone on without hitting the sides or being able to turn around. You can try using a larger crate during this time or a playpen instead to give them the additional space they need!

Choosing to spay or neuter your puppy is a smart decision! We never want to see our pups at the vet’s office for surgery but this one leaves a life-long positive impact. The benefits of spaying or neutering can far outweigh the risks of having the procedure or not doing it. Speak to your vet, do your research, and make your decision on what feels the best for you and your puppy. We wish you and your puppy many healthy years ahead together!


Check out these blogs related to puppy training and more!

Puppy Training 101: Teach Your Puppy to Stay!

Puppy Training 101: How to Teach Your Puppy Confidence for the Real World!

Puppy Training 101: Giving Your Puppy Commands, the Right Way!
Puppy Training 101: Teach Your Puppy to Stay!

You’re well on your way to advancing your puppy’s skillset! Once your puppy has learned to go to their “Place” the next challenge: staying put! 

The Puppy Academy Student: Lola

The Puppy Academy Student: Lola

If you’re reading this blog, there’s a good chance that you’ve either already trained your puppy the “Place” and “Down” commands, or read our last blog! If you haven’t, head over to our “Puppy Training 101: How to Teach Your Puppy Confidence for the Real World!” blog to learn how to introduce your puppy to real-world situations plus these basic obedience commands!

The goal behind teaching your puppy “Stay” is to encourage your puppy to settle down on command. It can be easier for puppies to begin to learn the “Stay” command on an object that has a natural boundary like a dog bed or pet cot (which we use to teach the “Place” command), then transition to the floor, around the home, and eventually our in public. But it starts with slow increments, learning their initial basic obedience commands “Sit”, “Down”, and “Place”, then slowly increasing the duration your puppy stays in their spot. Now your puppy is ready for the next lesson and this one will definitely challenge their natural drive! And that’s the whole point!

INTERESTED IN GETTING PUPPY TRAINING TIPS STRAIGHT TO YOUR INBOX? SIGN UP FOR OUR ANNOUNCEMENTS!

Teach “Stay” When Your Puppy is in “Sit” or “Down” Position

Let’s dive into teaching your puppy to “Stay!” For this command, you’ll also be utilizing your puppy’s “Place” which could be their pet cot, their bed, or blanket to name a few examples. Think of something that has a natural boundary to it, and being a bit elevated from the ground can help. Ask your puppy to go to their “Place” then follow up by asking them to “Sit” on their place. Once your puppy has completed these commands mark the correct behavior with “Good!” and reward them with food.

At this point, you’ll be introducing a hand signal (a flat hand held out in front of your puppy) and the new command, “Stay.” Again, mark the correct behavior with “Good!” and reward your puppy with food. Finally, release your puppy with “Break!” In the beginning, this routine will happen quickly and you’ll repeat it approximately five times in your training session before building in duration.

When it comes to training your puppy to stay while in the “Down” position, you’ll follow the same steps we mentioned above, with the exception you’ll ask for “Down” instead of “Sit”!

Troubleshoot Tips

Of course, reading through the steps of training your puppy “Stay” and the actual execution are two different things! Puppy training comes with its share of hiccups so don’t panic if your puppy seems like they aren’t getting it! There are a few troubleshooting tips that can help you solve common issues with teaching your puppy “Stay”. 

  1. First, control the environment as best you can! Before you start your training session, clear the area of distractions, and let your family know not to walk through, and pull your pup’s attention away from you.

  2. Secondly, remember to keep your puppy on a leash when training. There’s a chance, especially with an excitable puppy, that they may want to wander mid training session! Having them on a leash will allow you to easily guide them back to their Place, or spot you'd like them to Stay.

  3. Lastly, if your puppy does try to make a move to get up from “Stay”, take a step in towards them while you’re holding their leash. The act of you stepping closer to them can get them to settle back down into “Sit” or “Down” and refocus on you and what you’re asking of them

Tips for Teaching Advanced “Stay”

@aussiemoirarose

@aussiemoirarose

The “Stay” command might not seem too difficult in the short term, but the challenge really comes in when you start to work on extending the duration of your puppy’s stay. To do this, while your puppy is either sitting or laying down on their place, introduce the “Stay” command only this time, walk a few steps away from your puppy to create distance as well as work in more duration. When you do this, take slow, robotic steps away from your puppy, with your flat palm hand signal up extended in front of them, as you say “Stay”. This will help to control your puppy’s energy and their desire to follow you. Think of this as the complete opposite from commands that use higher energy like “Come” where your movements are excited and fun to motivate them to come to you! 

If your puppy does stay on their place as you move away from them, step back toward your puppy, mark the correct behavior with “Good!” and reward your puppy with food! Finally, release your puppy with “Break”. Practicing this routine anywhere from three to five times during a training session will help increase the duration your puppy stays on their place. And don’t worry if your puppy doesn’t immediately stay while you create distance. You may only be able to take one or two steps away from your puppy at first -- that's normal! If this happens, just reset them on their Place, and start over again. Practice makes perfect!

Note: When you move away from your puppy’s Place and start to teach “Stay” on the floor, don’t be surprised if this is a bit harder for your puppy! It can take a few days or even weeks to reteach your puppy to stay on a new surface and work through distractions! 

LEARN PUPPY TRAINING TIPS, PUPPY CARE, AND PUPPY BEHAVIOR STRAIGHT FROM OUR TRAINERS!

Teaching Impulse Control with Door Thresholds

@arizonagoldendoodles

@arizonagoldendoodles

Open doors are like an exciting invitation to run and explore for a puppy! A calm door threshold teaches your puppy not to dash through, rather they need to pause and check-in with you prior to entering, or exiting a door. This is a valuable skill as it helps prevent your puppy from running into a potentially dangerous situation (i.e. busy road) and sets your walks up to be easier. Door threshold training is all about safety for your puppy and controlling your puppy’s natural impulse!

When you begin door threshold training, you’ll employ the “Stay” command we've been teaching! Have your pup “Sit” as you approach the doorway, and say "Stay" to help them hold the command. body blocking technique we covered in the troubleshooting section. If your puppy isn’t as good at “Stay” yet and urges to run through a threshold, you can position your body between them and the open doorway. Using this technique in this training scenario creates a physical barrier that motivates your puppy to stop and check-in with you. By doing so, you’re starting to build a learned behavior in your puppy to look at you for what’s going to happen next. Don't forget to have your puppy on their leash and harness while practicing this!

Once you establish eye contact with your puppy, remember to mark the correct behavior with “Good!” and then continue through the doorway with you leading first, or walking out together. Don’t let your puppy pull out first! Eventually, your puppy will develop the muscle memory and learned behavior to pause and check-in with you each time before proceeding. One thing you’ll note here is there is no “Break!” marker before proceeding. Why? Saying the word “Break” in this situation builds anticipation and drive in your puppy. Door threshold training is all about calm and control so eliminating “Break” here will help maintain that energy.

From this point on, you have the tools to work on settling your pup’s drive and energy! As you continue to practice, your puppy will start to build on their focus, duration, and eventually, even start to naturally check in with you more as a learned behavior! These are all great foundations to build on with the rest of their basic obedience commands coming up in our puppy training 101 blogs. Plus, they’ll get your puppy ready to practice these routines out in the real world and take on more advanced puppy training exercises!

Check out these blogs related to puppy training and more!

Puppy Training 101: How to Teach Your Puppy Confidence for the Real World!

Puppy Training 101: Giving Your Puppy Commands, the Right Way!

Puppy Training 101: Starting Your Puppy with the Basics!